How to Transform a Normal Fridge into an AI Vending Fridge
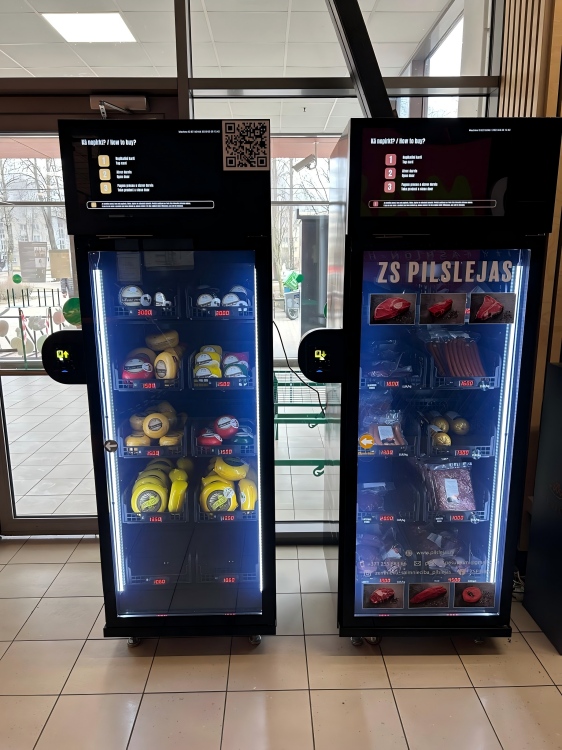
Step-by-step guide using our AI kit
Would you like to turn your regular fridge or cooler into a fully functional AI vending fridge? With our AI kit, it’s now easier than ever. This innovative solution combines advanced hardware and smart technology to upgrade your fridge into an AI-powered vending machine capable of operating 24/7. In this detailed guide, we’ll walk you through the installation process step-by-step so you can transform your standard fridge into an AI vending fridge with minimal effort.
What is the AI Kit?
Our AI kit is a compact package containing everything you need to transform your fridge into an AI vending machine. It includes:
- AI box with two cameras for tracking purchase activity
- Smart card reader and holder
- Industrial cellular router for reliable internet connection
- Electronic smart lock
- Power supply and cables
By installing this AI kit into your fridge, you’ll instantly have an AI fridge that can manage sales, control access, and track inventory automatically.
Why Upgrade to an AI Vending Fridge?
An AI vending fridge offers many advantages:
- 24/7 operation without staff
- Real-time sales and inventory tracking
- Secure product storage with smart locking
- Cashless payments via card reader
- Scalable solution for expanding retail business
Step-by-Step Guide to Transform Your Fridge
Step 1: Attach the AI Box
Position the AI box from your AI kit on top of the fridge door. The two cameras should have a full view of the inside to record the complete purchase process. This is crucial for product recognition and accurate billing.
Step 2: Prepare the Door for the Smart Lock
Drill a small hole in the fridge door where the electronic lock will be installed. Mount the smart lock on top of the fridge and connect it to the AI box. This ensures the fridge remains locked until an approved transaction is made.
Step 3: Install the Power Supply
Attach the power supply from your AI kit to the fridge. Depending on the location, you may need a protective cover to keep rain or dust away. Connect the power supply directly to the AI box.
Step 4: Set Up the Industrial Router
Place the industrial router inside or near the fridge. Connect its power cable to the power supply and link it to the AI box with the LAN cable. This ensures your AI vending fridge stays connected for payment processing and monitoring.
Step 5: Install the Card Reader
Attach the card holder securely to the fridge surface. Insert the card reader into the holder. This allows customers to make cashless payments quickly and easily.
Step 6: Add the Metal Plate
Finally, attach the provided metal plate to the top section of the fridge door to complete the lock mechanism. Once in place, your regular fridge is now a fully functional AI vending machine.
Testing Your New AI Fridge
Open the door, select multiple products, and close the door. The system will automatically lock and register the items taken. This seamless process is what makes an AI fridge so efficient for both operators and customers.
*Check the YouTube video to learn more
Q&A: Frequently Asked Questions
Q1: Can I use the AI kit on any fridge?
A1: Yes, our AI kit is designed to fit most standard fridges and coolers with minor modifications.
Q2: Does the AI vending fridge require Wi-Fi?
A2: No, it uses an industrial router with cellular connectivity, so no Wi-Fi is required.
Q3: How secure is the AI vending machine?
A3: It features a smart lock system and constant monitoring via dual cameras to prevent theft.
Q4: Can it work outdoors?
A4: Yes, but we recommend adding a protective cover for the power supply and ensuring the fridge is weather-protected.
Q5: What payments are supported?
A5: The card reader supports credit cards, debit cards, and most cashless payment systems.
A Combo Machine that Rents Gear and Sells Fuel
Fresh Beer Vending Machine
Related Article